

Post Construction Cleaning Checklist Guide
Construction may be complete, but a facility is not ready for employees, customers, or tenants until the dust is gone, surfaces are detailed, and safety hazards are addressed. This post construction cleaning checklist guide helps Albany-area property managers, office managers, and business owners plan a professional final cleanup without missing the details that affect first impressions.
Post-construction cleanup is more than a quick sweep and trash removal. Fine drywall dust travels into vents, cabinets, light fixtures, and carpet fibers. Adhesive residue, paint splatter, and debris can remain long after the contractors leave. A structured process protects finished surfaces, supports a safer opening, and gives your business the polished appearance people expect.
Start With a Post-Construction Walkthrough
Before cleaners begin, walk the site with the general contractor, project manager, or building representative. This is the time to identify unfinished work, damaged materials, and areas that cannot be cleaned yet. Cleaning around active construction often means doing the same work twice, while dust from a final repair can settle throughout a completed space.
Confirm that utilities are working, including water, electricity, heating or cooling, and lighting. Cleaners need adequate access to sinks, restrooms, storage areas, elevators, loading zones, and all rooms included in the project scope. If construction waste remains, arrange for it to be removed before detailed cleaning begins.
During the walkthrough, document specialty materials such as natural stone, luxury vinyl tile, newly finished hardwood, glass partitions, stainless steel, and custom millwork. These surfaces may require specific products and methods. A strong cleaning plan is thorough, but it should never risk damaging a new finish to save time.
Post Construction Cleaning Checklist Guide by Phase
The most reliable approach separates cleanup into phases. Each phase has a different purpose, and the right timing depends on the project size, the amount of dust created, and whether the facility needs to stay partially occupied.
Phase 1: Rough Cleanup and Debris Removal
The first phase creates a safe, workable site. It should happen after major construction activity has ended but before final detailing. The goal is not perfection. It is to clear the materials and heavy debris that prevent a more complete cleaning.
This initial checklist should include:
Remove construction debris, packaging, scrap materials, and loose trash.
Sweep or vacuum floors to remove heavy dust, nails, screws, and other hazards.
Collect protective film, labels, tape, and temporary coverings where approved for removal.
Clean accessible window tracks, door thresholds, and entry areas.
Check corners, closets, utility rooms, stairwells, and loading areas for overlooked debris.
This phase often reveals what still needs contractor attention. For example, paint on a finished floor or cement residue on glass may require specialized removal methods. Do not assume every mark can be cleaned without confirming the surface type first.
Phase 2: Detailed Dust Removal
Dust is the defining challenge of post-construction cleaning. It settles in layers and returns after nearby work continues, which is why professional crews work from high areas to low areas. Starting with floors only spreads dust back onto newly cleaned surfaces.
Clean ceilings, vents, light fixtures, sprinkler heads, ledges, walls, baseboards, doors, frames, window sills, and blinds or shades. Vacuum upholstered furniture, carpet edges, and other soft surfaces with equipment designed to capture fine particles rather than recirculate them.
Pay close attention to HVAC vents and return grilles. If the system ran during construction, dust may have entered the system and can continue to circulate after the building opens. The appropriate next step depends on the project and HVAC condition. Surface cleaning may be sufficient for a minor renovation, while a large build-out may call for a separate HVAC inspection or duct-cleaning plan.
Phase 3: Surface Cleaning and Detail Work
Once the bulk dust is removed, cleaners can focus on the presentation details that make a new or renovated commercial space look complete. This is the phase clients notice most when they enter the building.
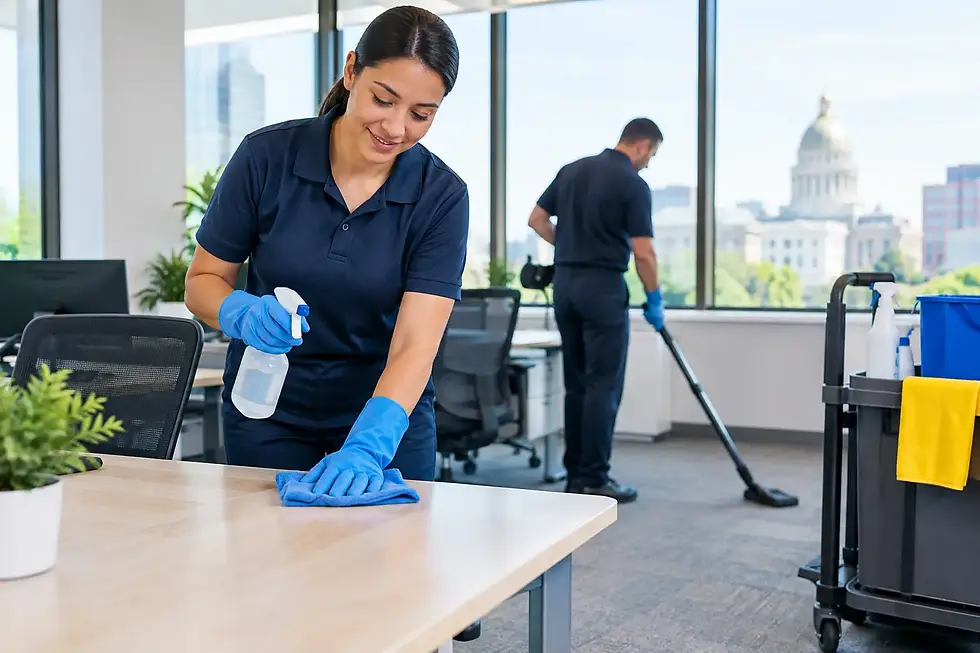
For offices, conference rooms, reception areas, break rooms, and shared workspaces, clean and wipe all horizontal and vertical surfaces. That includes desks, counters, shelving, cabinets inside and out, door handles, switch plates, window frames, and trim. Remove fingerprints from glass doors, mirrors, partitions, and stainless steel fixtures.
In retail spaces and lobbies, prioritize glass, entry doors, display areas, fitting rooms, counters, and high-visibility floors. A clean storefront can lose its impact quickly if there is adhesive residue on windows or dust along the baseboards. For healthcare, education, or food-service environments, cleaning requirements may be more specific, so the checklist should align with the facility's operational standards before reopening.
Restrooms and Break Rooms Need Extra Attention
New fixtures can still carry dust, stickers, grout haze, and construction residue. Restrooms and break rooms should receive a full detail clean rather than a basic wipe-down.
In restrooms, clean and disinfect toilets, urinals, sinks, faucets, dispensers, partitions, mirrors, tile, and floors. Remove labels only when authorized, and check that drains are free of debris. Refill soap, paper products, and other consumables if they are part of the opening plan.
In break rooms and kitchen areas, clean cabinets, counters, sinks, appliances, backsplashes, tables, and floors. Inspect inside drawers and cabinets for sawdust or packaging. If appliances were installed during the project, confirm whether protective films, manuals, and installation materials should remain in place before removing anything.
Finish Floors Based on Their Material
Floors are often the largest visual surface in a commercial facility, and they collect the most residue during construction. They also require the most caution. Using an abrasive pad, harsh chemical, or too much water on the wrong material can damage a brand-new floor.
Carpet should be thoroughly vacuumed, including edges and corners, and may need extraction cleaning if it was exposed to heavy traffic, drywall dust, or spills. Hard floors should be swept, vacuumed, and damp mopped with products suited to the finish. Tile and grout may need attention for haze and dust buildup, while vinyl composition tile may require professional strip-and-wax service depending on its condition and the desired finish.
For newly installed wood, stone, or specialty flooring, follow manufacturer recommendations. It may be best to use a light, surface-safe cleaning method until the material has fully cured. The fastest solution is not always the best one when a floor represents a major investment.
Complete a Final Quality-Control Inspection
The final inspection should happen in bright lighting, ideally after the site has been closed to additional construction traffic. Walk the facility as a customer, employee, or tenant would. Look up, look down, and inspect from multiple angles. Dust on a high ledge, streaks on a glass door, or debris in a corner can undermine an otherwise excellent project.
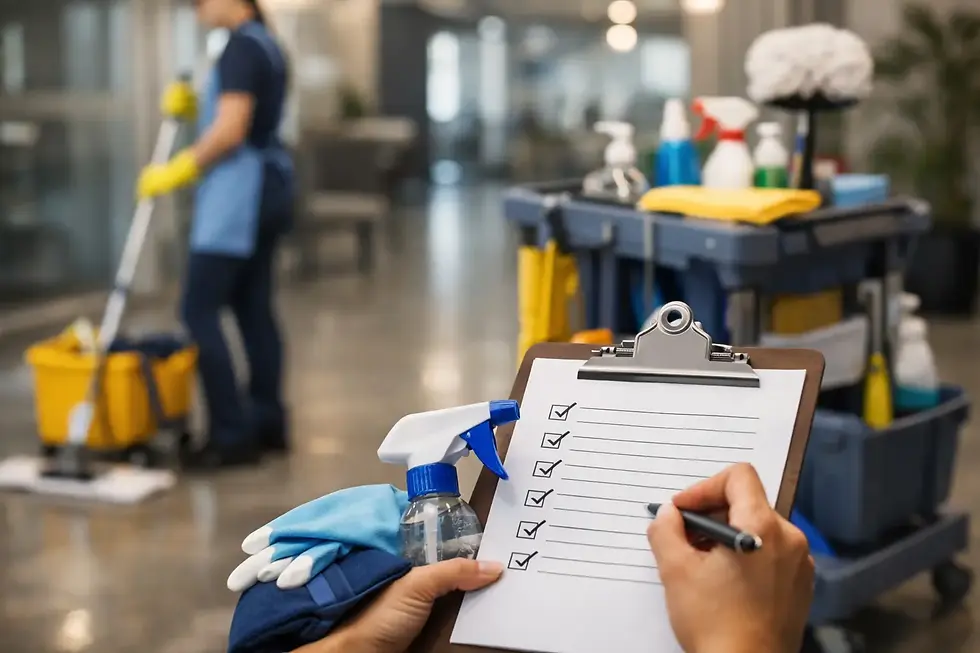
Use this final review to confirm that:
All trash, construction debris, and cleaning materials have been removed.
Glass, mirrors, fixtures, and stainless steel are free from streaks, stickers, and fingerprints.
Floors are clean, dry, and free of loose debris, haze, and visible marks.
Restrooms are clean, supplied, and ready for use.
Entryways, elevators, stairwells, and common areas are presentable and safe.
Doors, cabinets, and windows have been checked for dust in tracks, frames, and corners.
A quality-control inspection also gives you a chance to identify any items that are not cleaning issues. Scratches, incomplete caulking, damaged fixtures, and unfinished paint should be documented and returned to the contractor rather than covered up.
When to Bring in a Professional Post-Construction Cleaning Team
A small office refresh may be manageable with an internal team if the work was limited and the area is not opening immediately. Larger renovations, tenant build-outs, medical offices, retail openings, and multi-floor properties usually benefit from a trained commercial cleaning crew. The volume of dust, the need for proper equipment, and the pressure of an opening deadline can make in-house cleanup inefficient and inconsistent.
Professional service is especially valuable when the project includes high ceilings, extensive glass, carpeted areas, specialty floors, or occupied sections of a building. A properly insured and bonded provider can schedule around contractors, work after hours when necessary, and handle the detailed work required for a confident final walkthrough. Unique Shine provides post-construction cleanup and ongoing commercial cleaning support for businesses that need a dependable transition from project site to ready-to-use facility.
A clean opening day does more than make the project look finished. It gives employees a better place to work, gives visitors confidence in your operation, and lets your team focus on moving forward instead of chasing construction dust.

Comments